Tags
bamboo standpipe, Little Giant Disappearing water feature basin, pond, pond replacement, Water feature
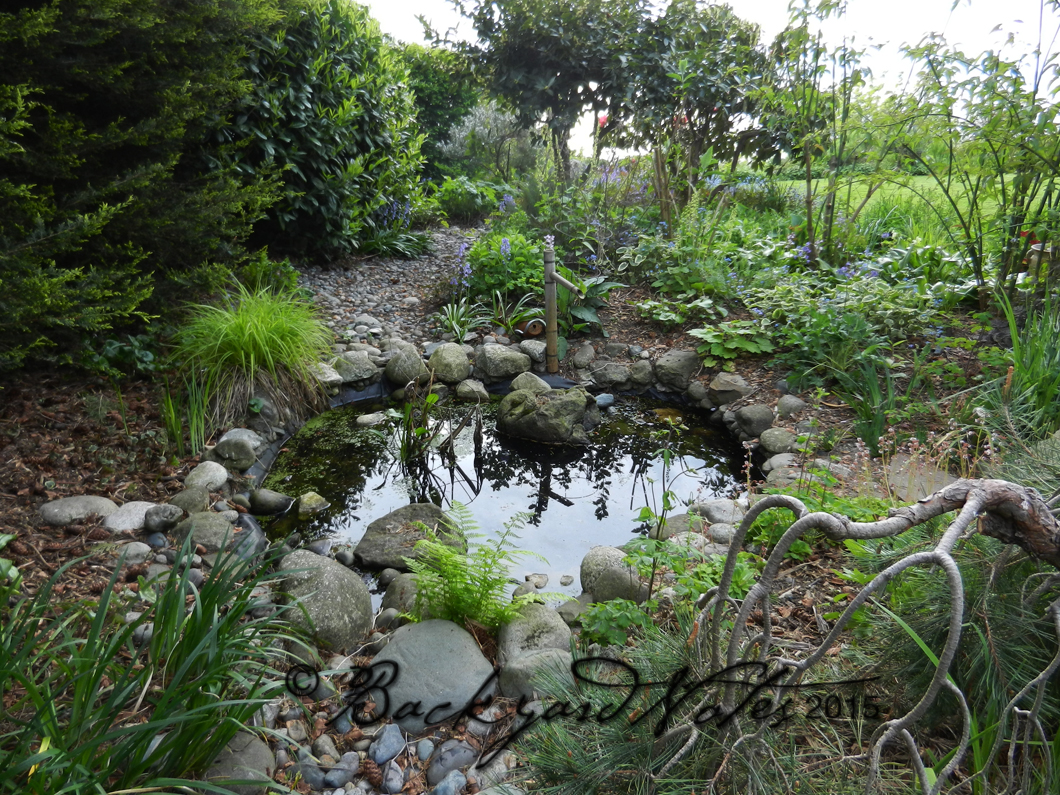
Original pond design, circa 1998
IT WAS TIME FOR THE OLD WATER FEATURE, A POND, TO GO. And in its place, a simpler, easy to care for one.
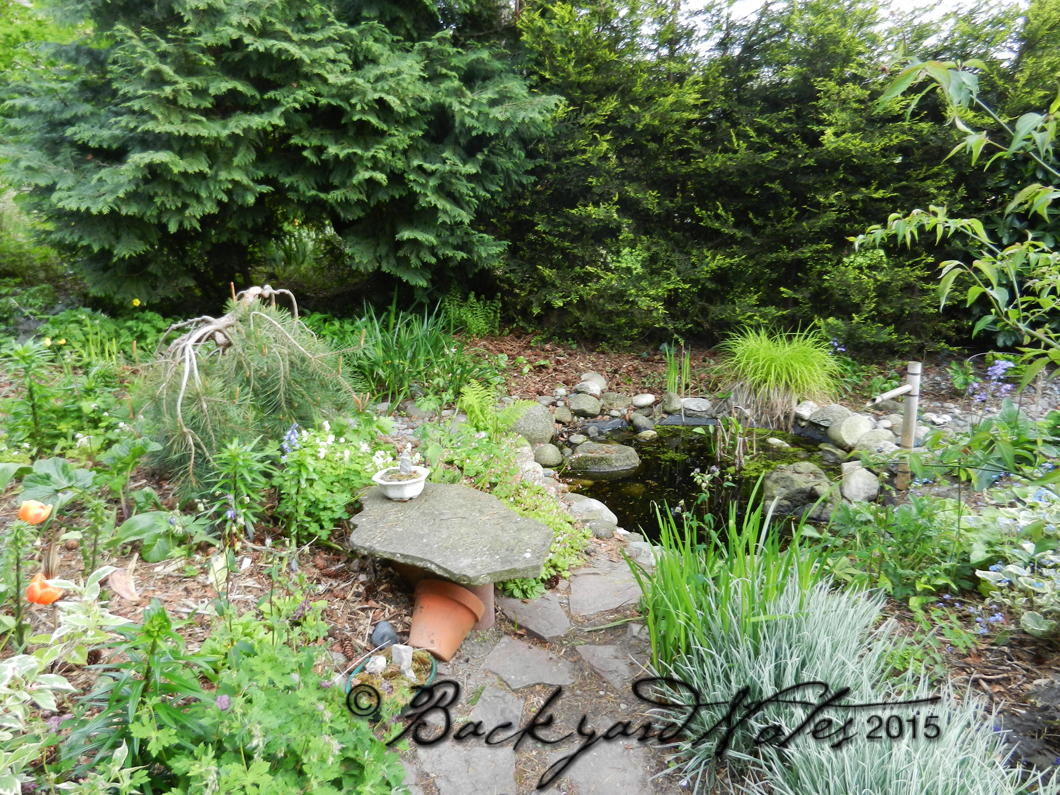
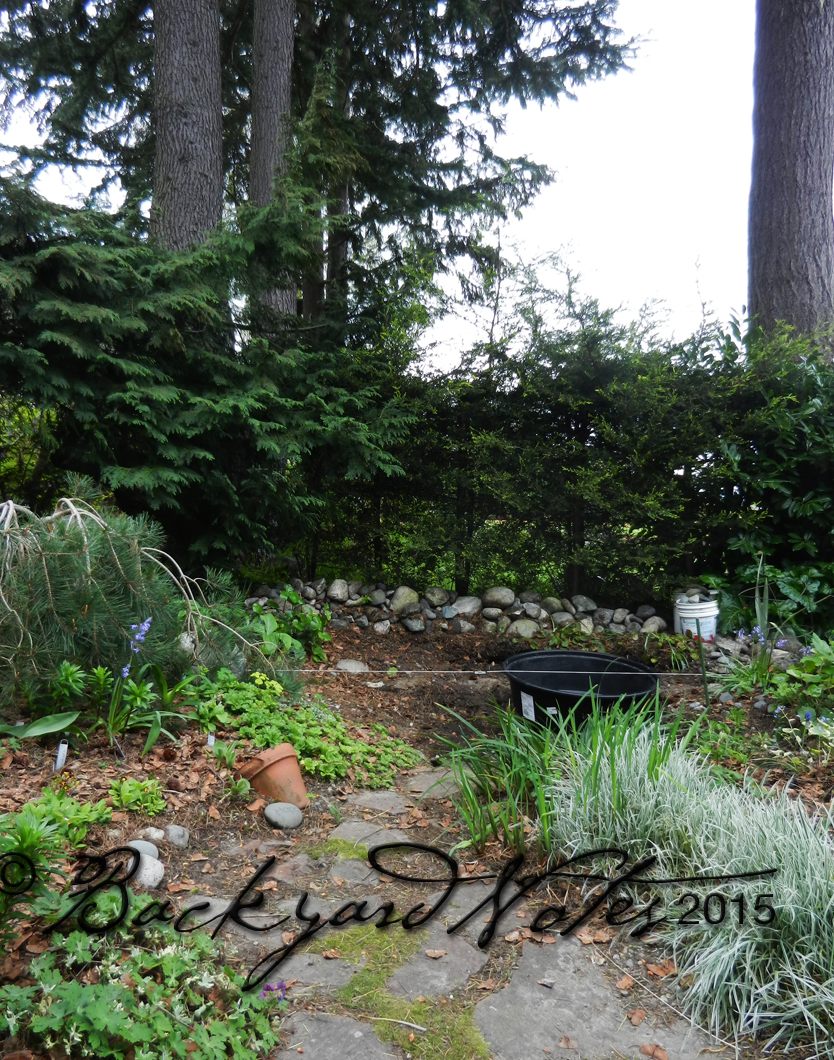
View from the house
In the fall of 2013 (!) my grandson and I removed the old pond, all of its rocks, the bog, and pond liner. It was too much of a chore to keep clean under a couple of conifers and time for a new look. It took me a year and a half to figure out just how I wanted it to look and how to achieve that look.
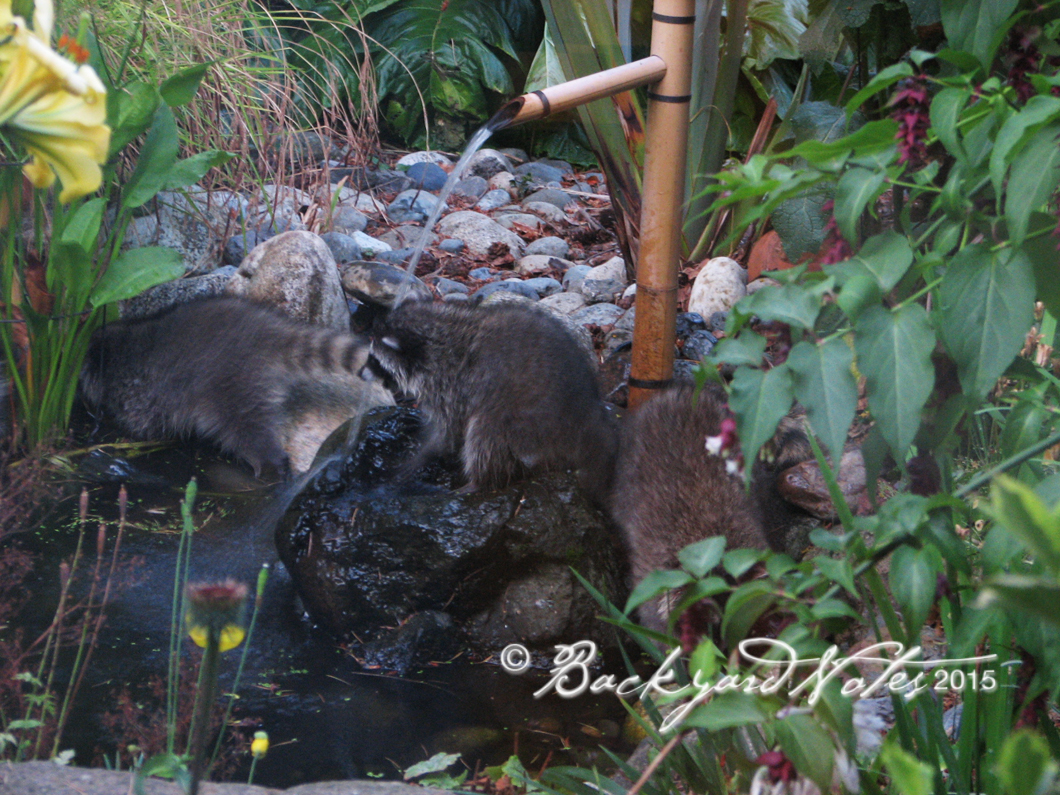
A raccoon family visits
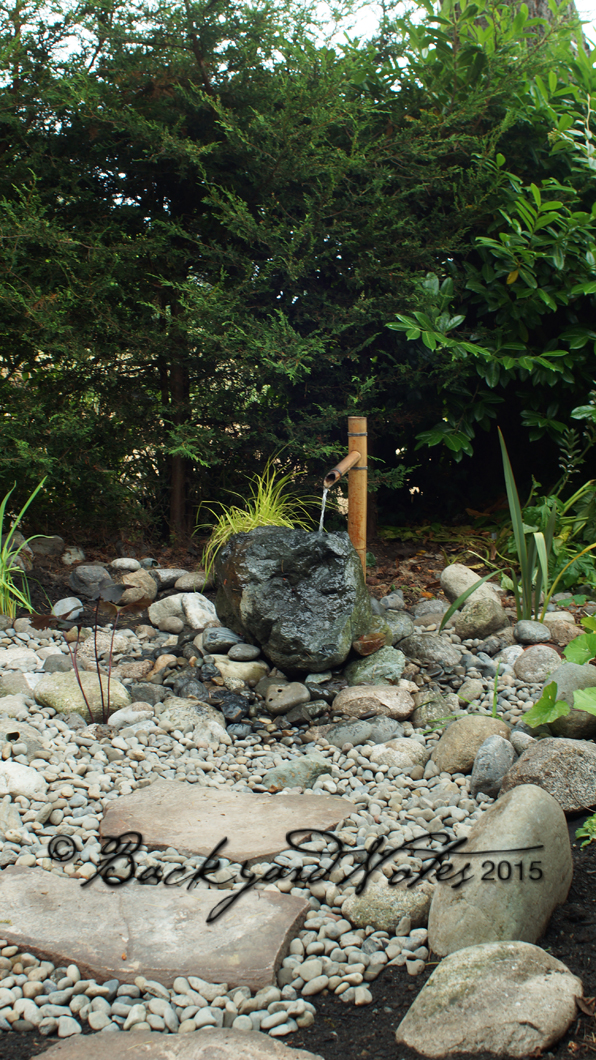
The pond was attractive to our small, urban, wildlife population. I knew that I wanted running water to attract small songbirds; I liked hearing the sound of running water; I wanted to use a large rock from the previous incarnation and the bamboo standpipe as well. I missed the birds most of all.
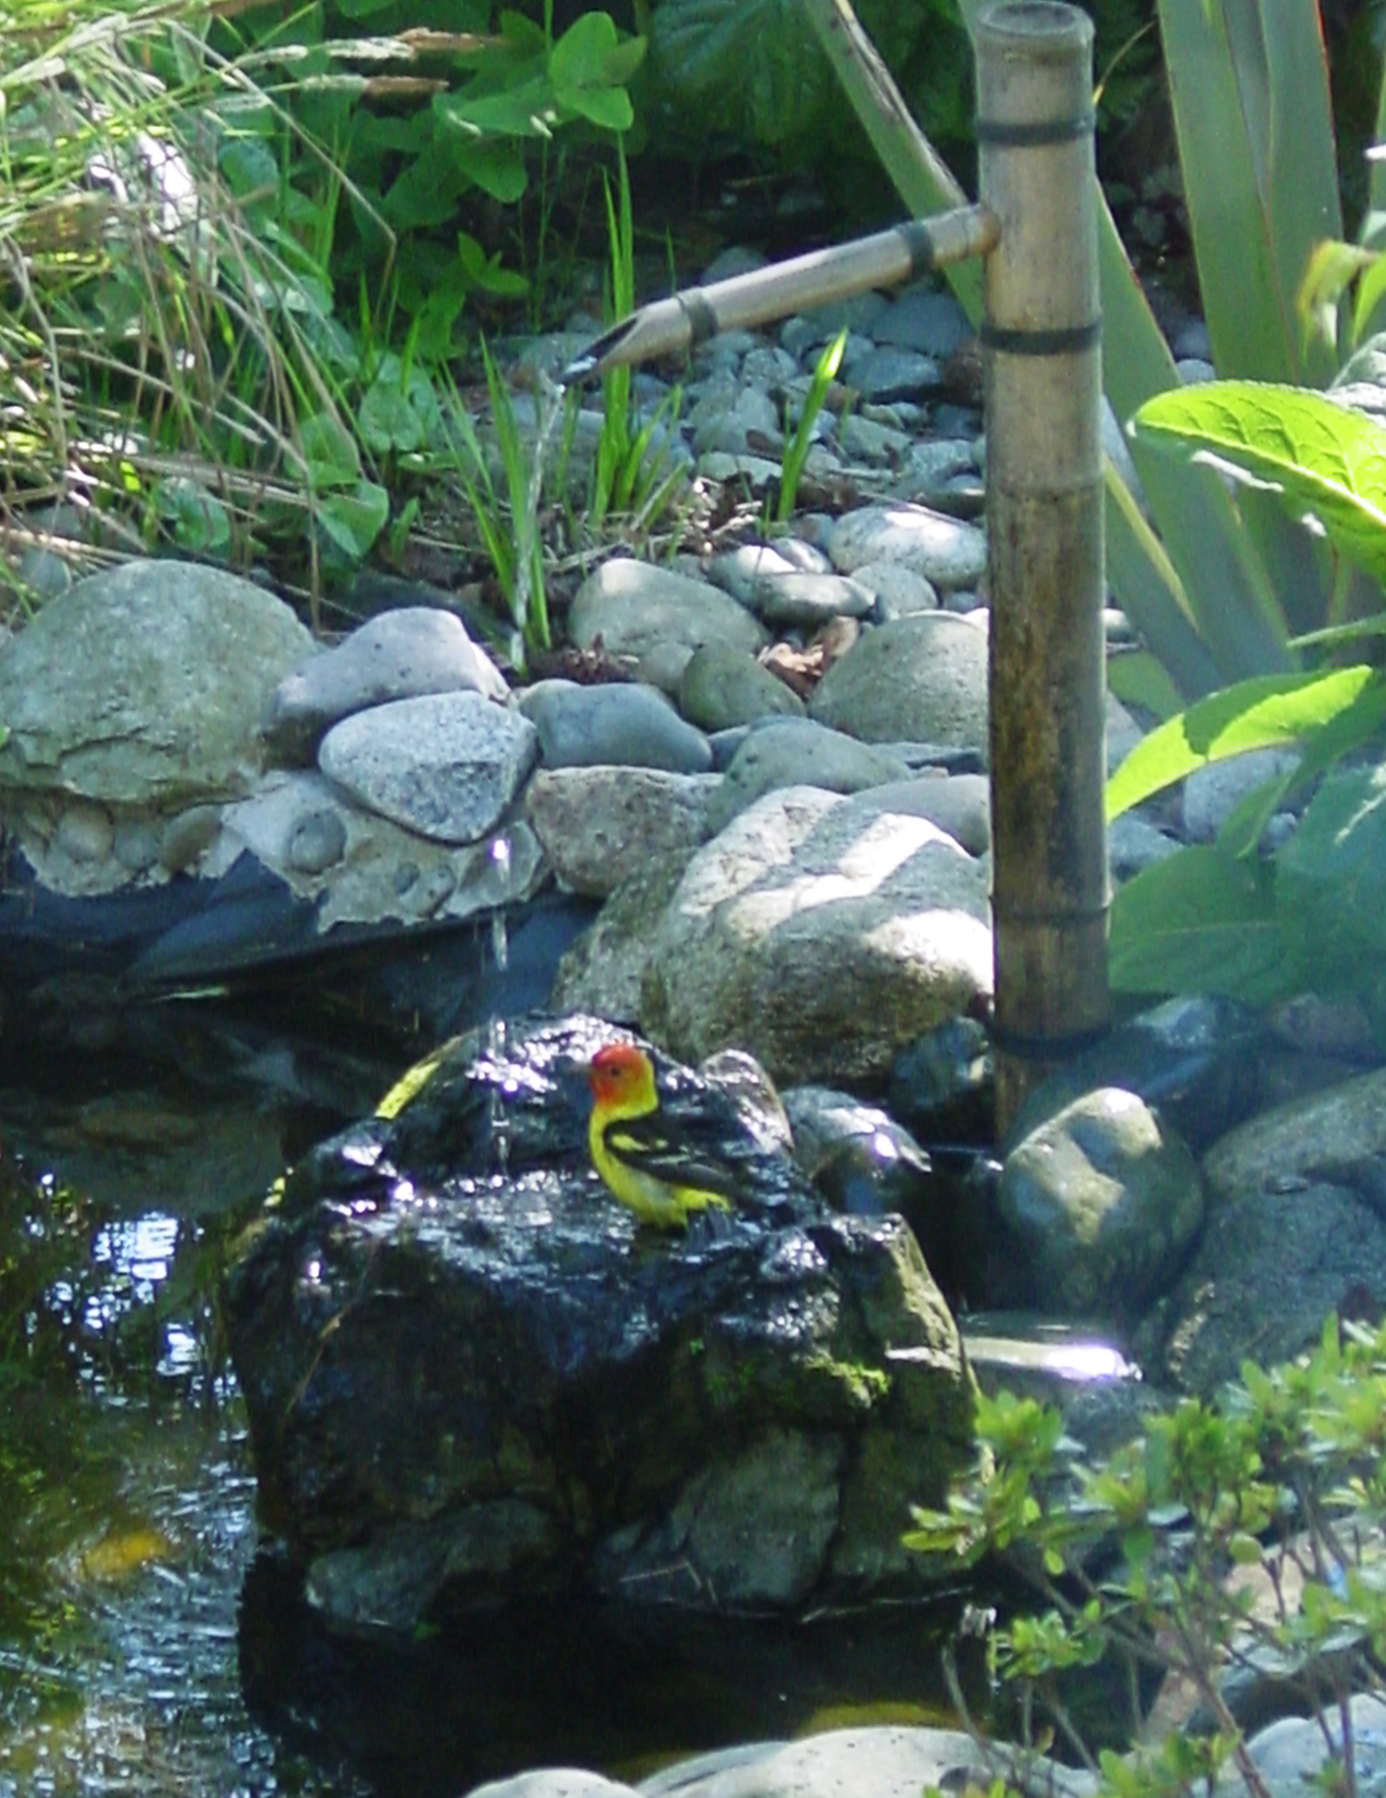
A Western Tanager makes a rare visit
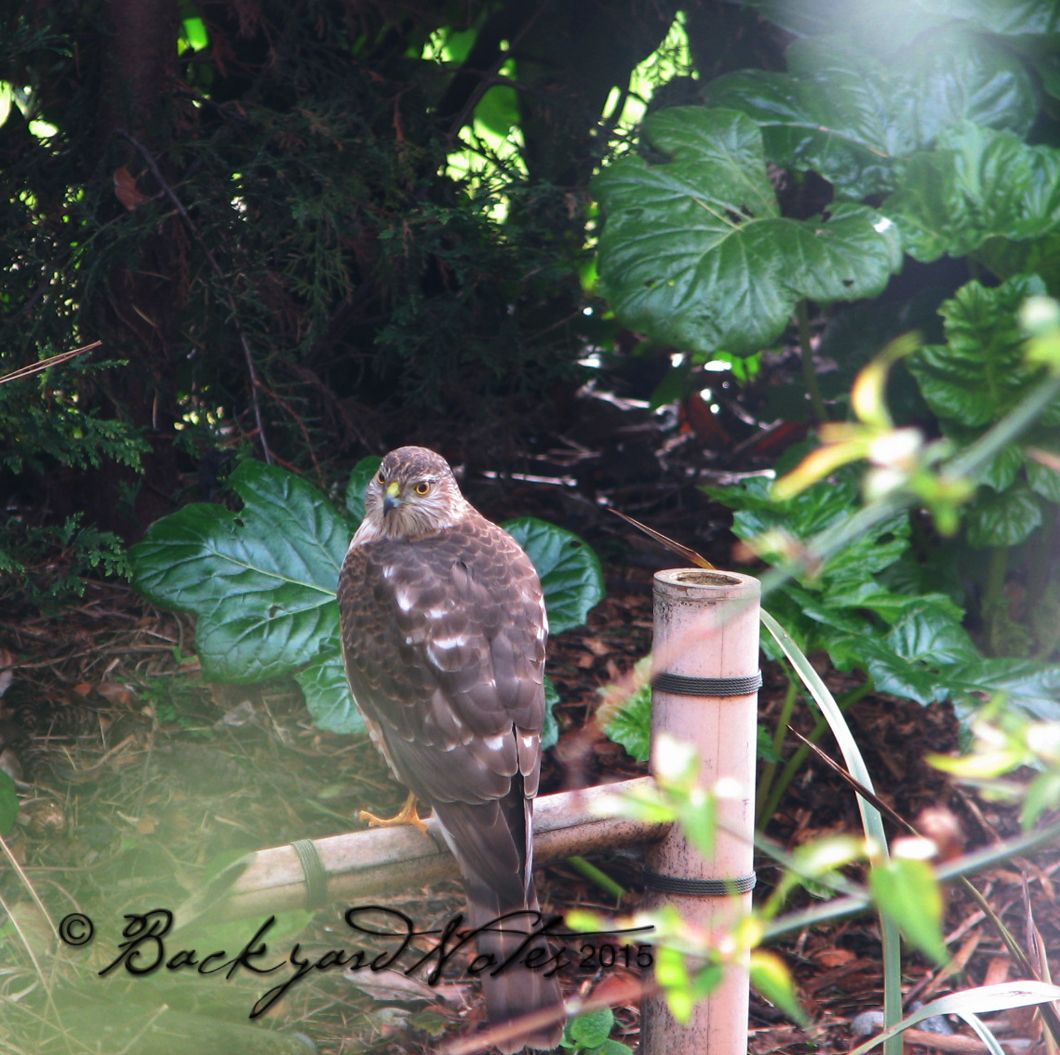
A Cooper’s Hawk rests a while—watch out little birds!
What I wanted was a pond less water feature that was easy to deal with. In March I got serious about it and in my research found the Little Giant Disappearing Water Feature Basin. It was the answer to my needs!
Placement of the basin

The Jumping Jack in action with the groundskeeper and grandson
We set the empty basin in the old pond excavation for location and elevation. We then brought in 3.5 cubic yards of topsoil to fill the old hole. We rented a ‘Jumping Jack’ compacter to compact the first layer of soil and then set the basin in place and filled around it.
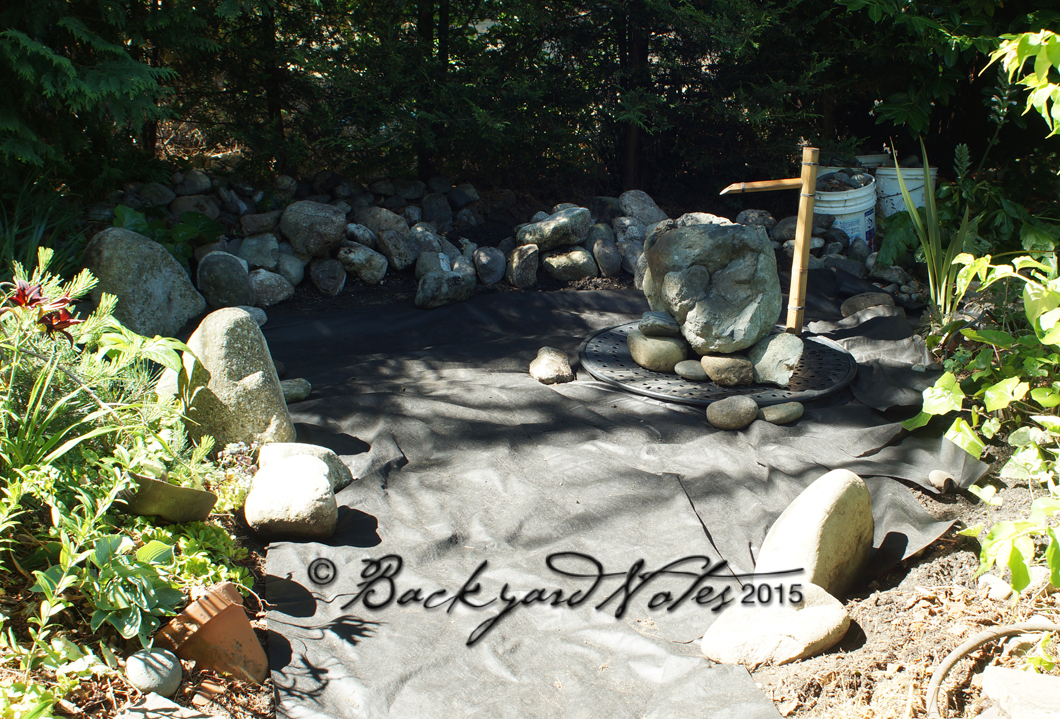
Preliminary layout with weed barrier fabric laid down.
Once the backfilling and compacting was completed we began laying out the rock saved from the old pond structure.
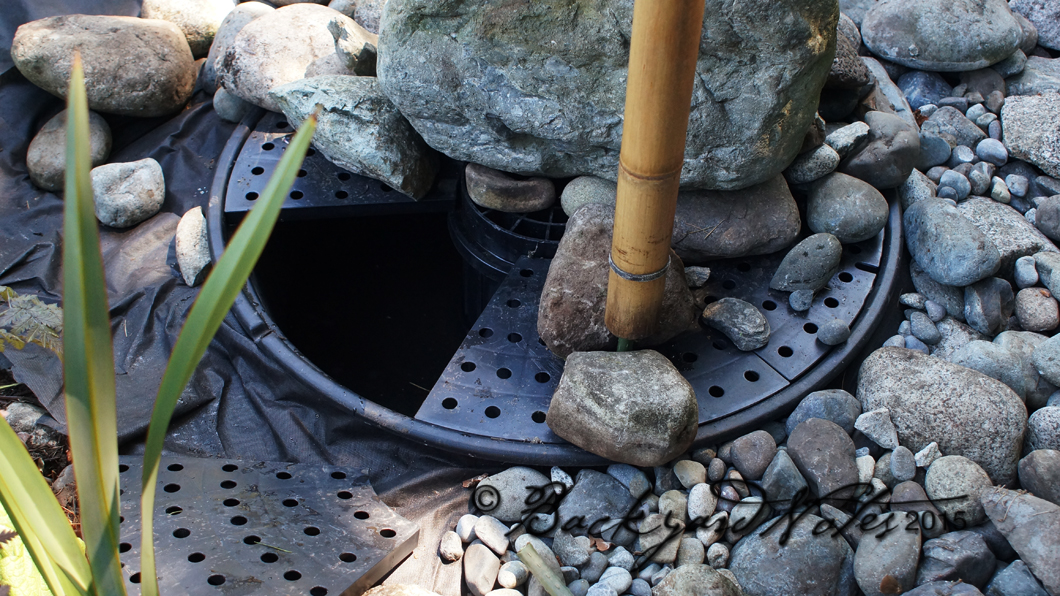
This is how the reservoir is set up; a central cone/support protrudes about two inches above the perforated plates. The Little Giant will carry a load of up to 2,000 pounds, so my rock was back at center stage! Yes!
Downstream, dry streamed.
How do you make a not natural feature appear natural? That is tricky, so it took some time to get it right. I spent three days arranging the rocks. We ended up having to buy more small rock to complete the project. Had I known what I was going to do 18 months ago, I would have stockpiled all of the small rock instead of throwing it into the dry stream bed ‘downstream’.
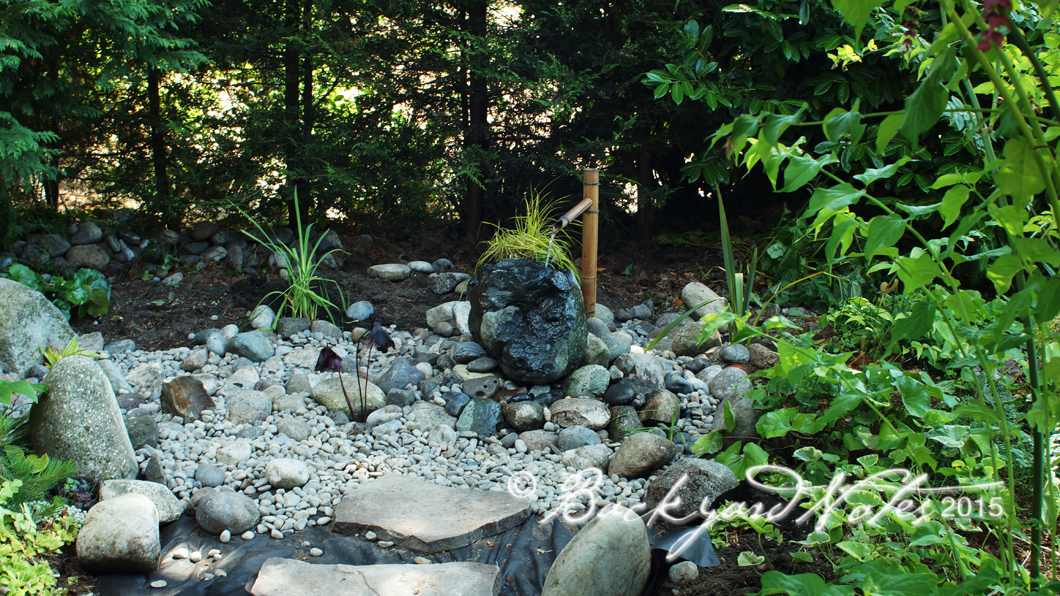
Almost complete!
By Saturday, I had the pump/fountain running and within 15 minutes of my walking away, the chickadees were there drinking and bathing! And then more small songbirds took advantage too. It has been so dry here this year that this is a real happy setup for the small birds.
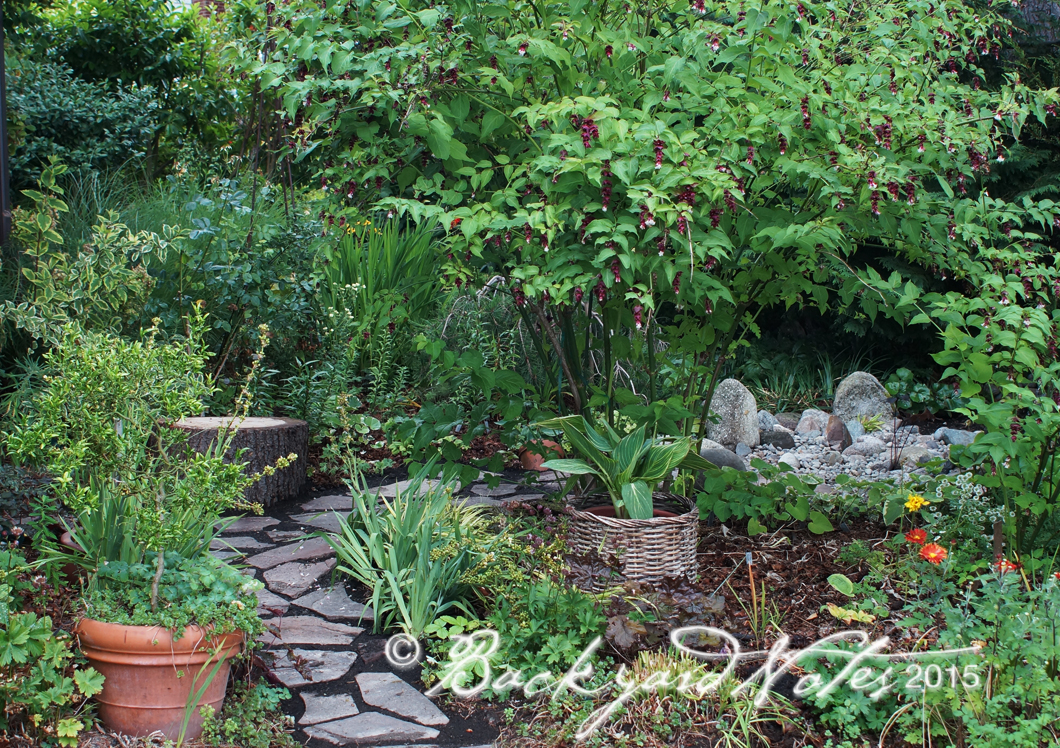
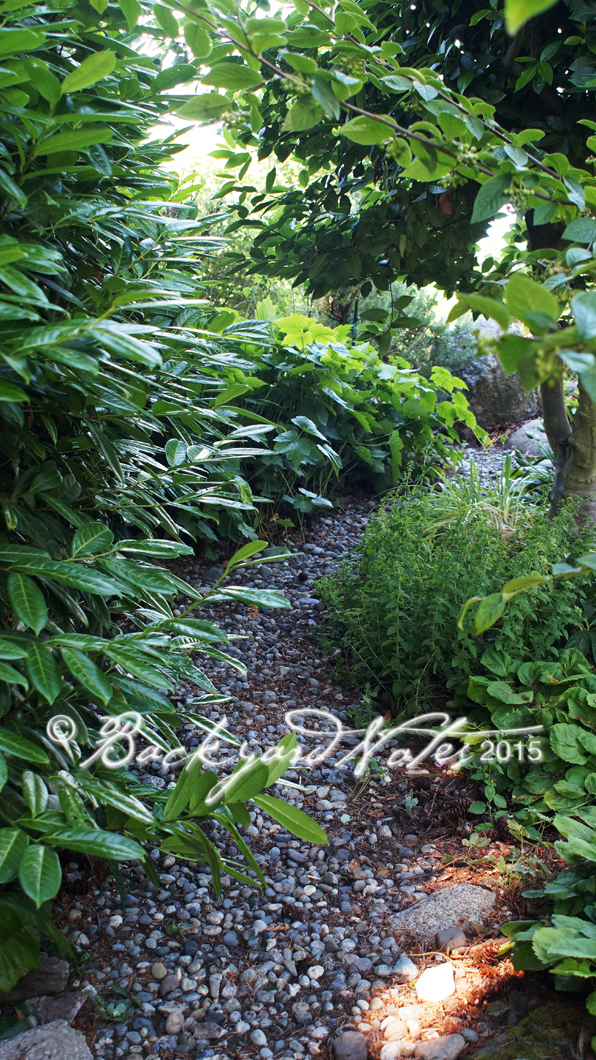
‘New’ path to the bird oasis
Yesterday we finished up by resetting the stepping stones on the path to the pond, added the remaining topsoil and river rock. My goal was to have this project completed by the end of the month and we did it!
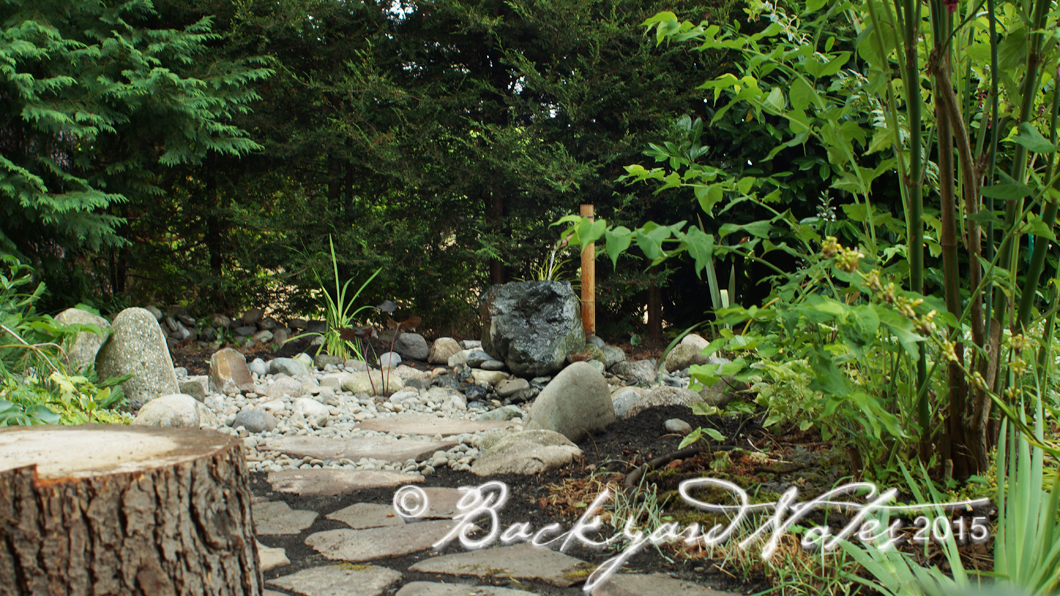
‘New’ path to the bird oasis
All that is left now is to complete the planting and a little fine tuning. And, if at some point in the future I tire of the rock, I can easily replace it with a granite millstone, a stone basin or whatever strikes my fancy. An easy fix!