Tags
cauliflower plants, fermented cauliflower, fermenting, pickling, Romanesco cauliflower, Veronica Cauliflower, Weir Seal, Western Stoneware crock
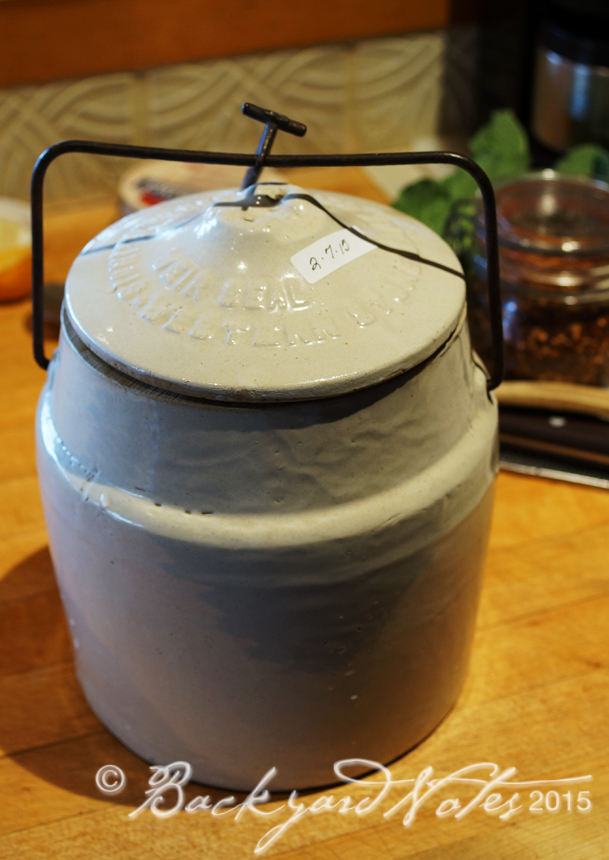
My heirloom preserving crock
IN MY PREVIOUS POST I SAID no more canning for awhile. While strictly true, I seem to have to much of a good thing in my vegetable garden. And that would be several Romanesco type cauliflower plants in various stages of growth and at least two needed immediate harvesting. I have pickled and canned cauliflower in the past and since I am decidedly not in the mood to pickle and can in the usual sense, I am having a go at fermented cauliflower pickle. This will certainly be something different and I hope, tasty.

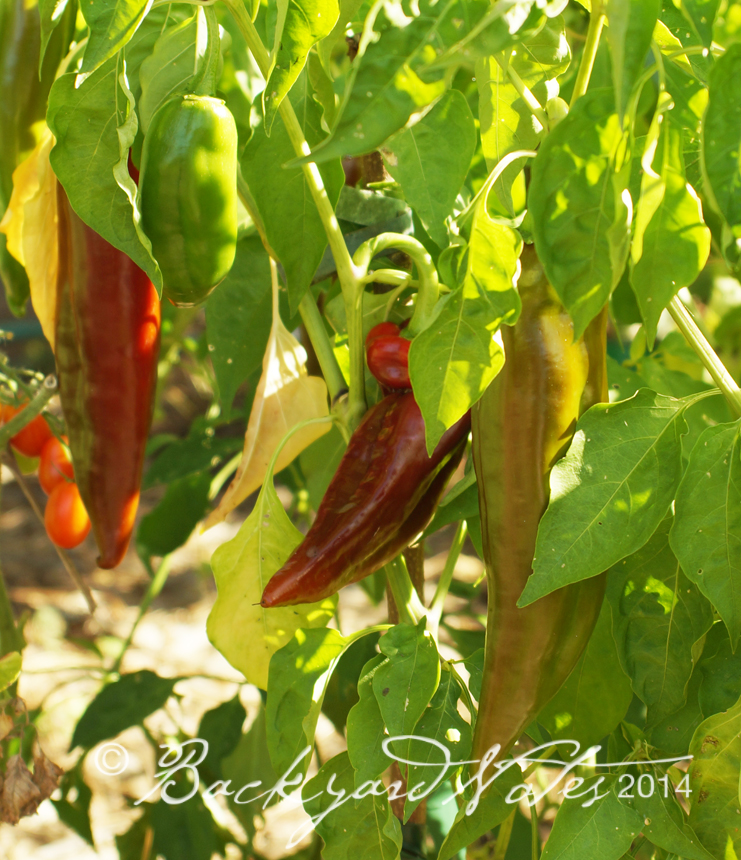
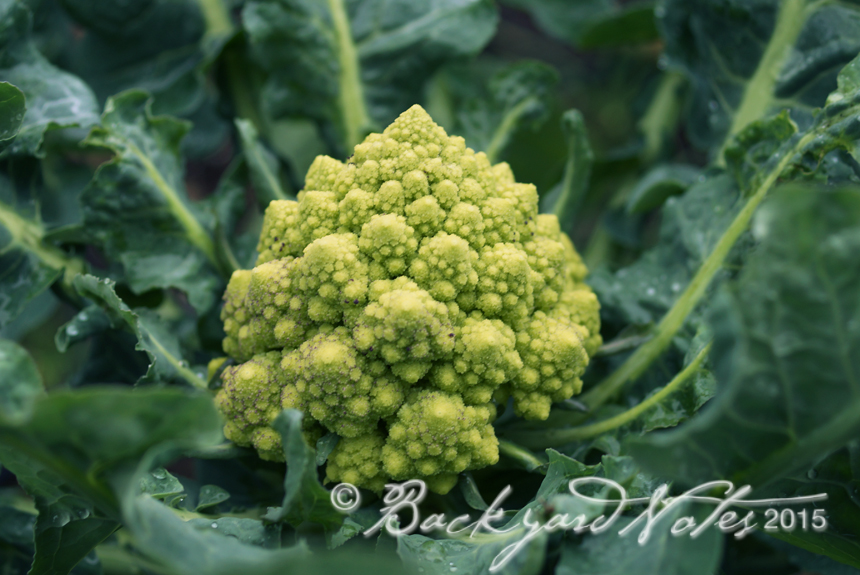
Romanesco cauliflower ‘Veronica’
I don’t know how much this large head weighed but it was about seven inches across. A second, smaller one was more conical and not as flat as the one pictured above. I really like this type of cauliflower for its unique color, flavor, texture, and of course the showy form. The plants are quite robust, with stalks that top out around 2-3 feet high and here at least, need staking against winter wind.
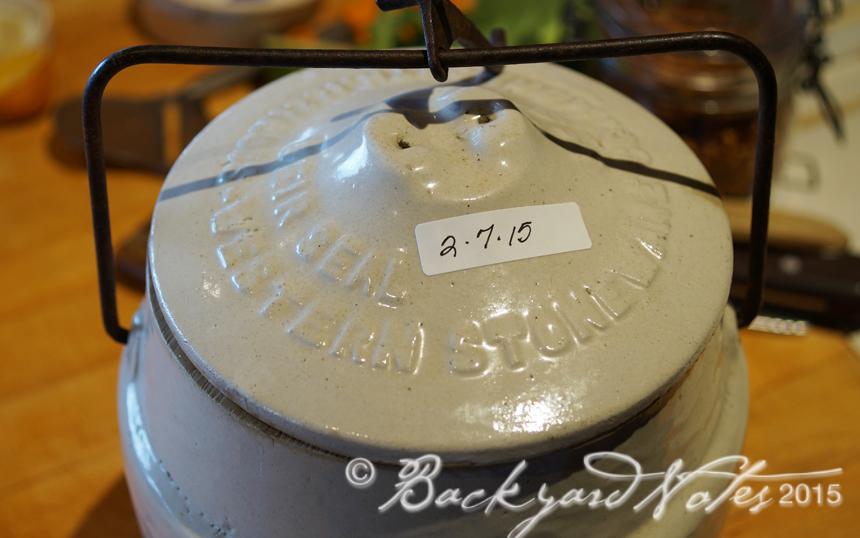
The Western Stoneware with Weir Seal (any relationship to the meaning of a weir dam?)
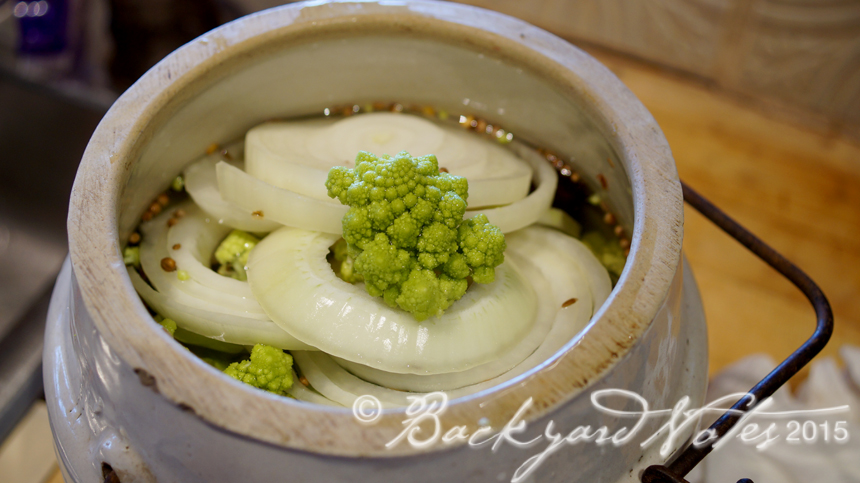
I have a lovely and cherished, old heirloom crock that belonged to my wonderful, late mother-in-law who taught me to can and helped me plant my first vegetable garden many, many, years ago. The crock is Western Stoneware and proudly proclaims its maker, provenance and Weir Seal on its lid. I have a feeling that the crock originally belonged to her mother; her brother’s initials, JFM, are scrawled on the bottom of the crock with a grease pencil. The Mahoney family had a farm along the Willamette River in Gervais, Oregon, where my mother-in-law, Helen, grew up. I came into possession of it after she passed away in 1999. I think the capacity is not quite a gallon. I have used it for fermenting as well as making fruit infused vinegars. Just one more thing that reminds me of her generosity and love when I use it.
Not ready to pick, but soon!
I layered the cauliflower florets and peeled, sliced stems with a few small carrots (from the garden too), garlic (homegrown), onion and a couple of dried ancho chiles, some typical pickling spices and a 5% brine solution.
Ready to go!
Fermenting is kind of exciting because the results are always a surprise. It is also an exercise in patience and diligence.
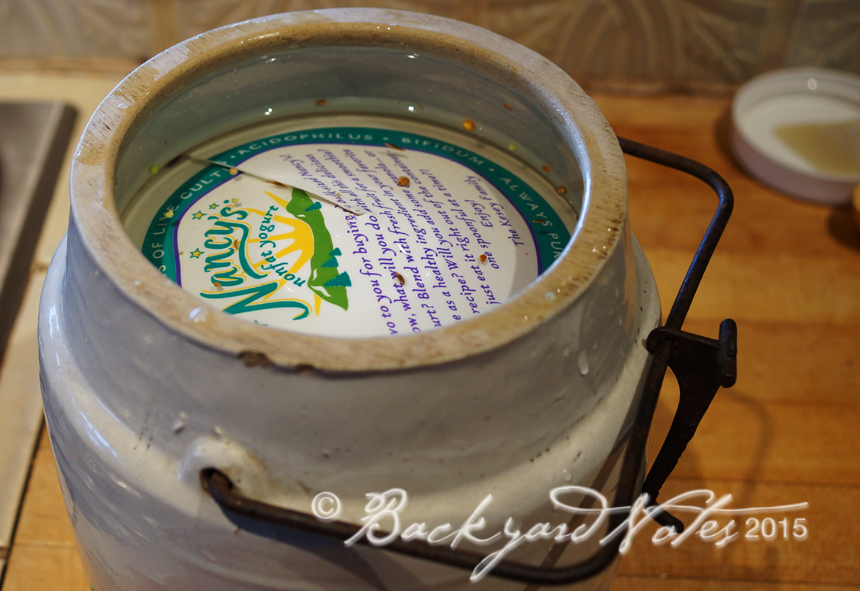
The homemade plastic ‘seal’
This is my version of a ‘seal’ to keep the contents of the jar submerged. I saw something like this on someone’s website several years ago and it works great. If your ingredients still want to bob-up, a brine filled plastic bag will sit neatly on top. Cut up any plastic lid that is slightly larger than the mouth of the vessel; cut a slit from one edge to the center, fold to a cone shape and place over the contents and push down until the liquid covers the plastic and it is seated. The ‘seal’ is reusable or cut a new one next time.
Now I wait; will it be five days, seven days, or as long as two weeks for results? Darn! I’ll report back.