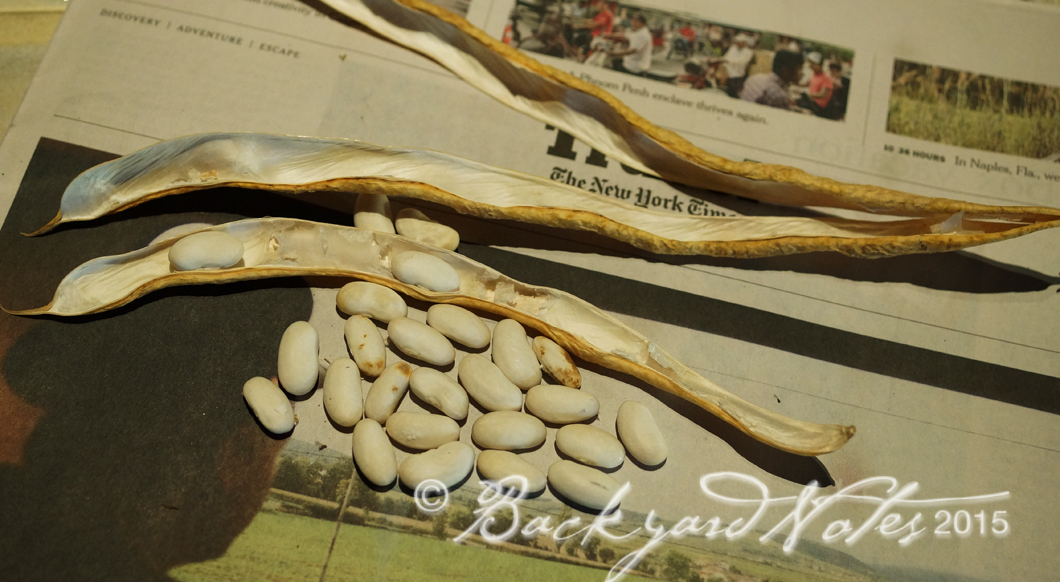
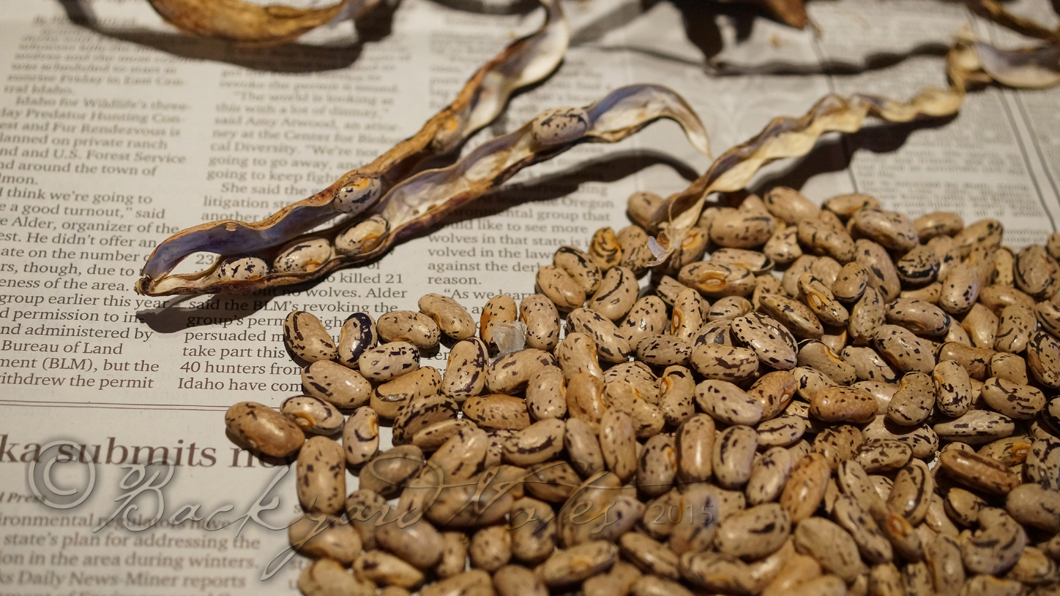
Dried Lazy Housewife pole bean seed
HAPPY NEW YEAR!
AS ANOTHER YEAR ROLLS IN there is no better time to begin dreaming about and planning this year’s vegetable garden. Seed saving for me started about twenty-two years ago. Even though the seeds were some type of F1 hybrid (called La Roma) and unlikely to come true, I saved them anyway. The plants from the saved seed were just fine and the tomatoes were successively better each year, farther away from the parent. I still grow these tomatoes, although I no longer am using the original saved seeds.
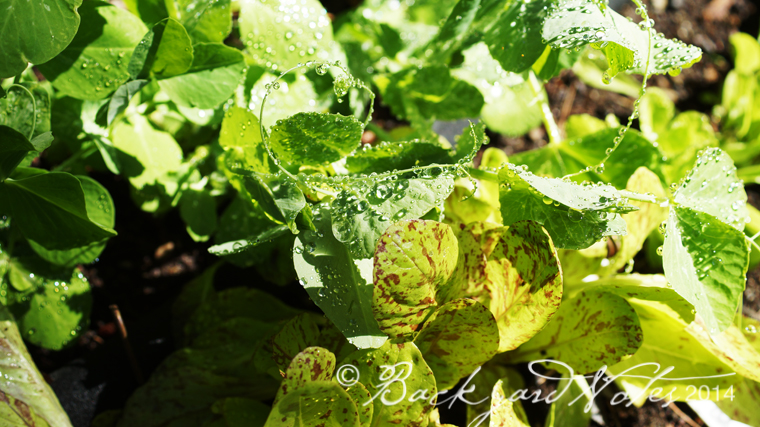
As mentioned in previous posts, I often let some lettuces, herbs, leeks, and other greens go to seed, then shake the seed around the vegetable garden; the seeds come up on their own schedule; when the new plants are large enough I thin and transplant them into vegetable beds (except for cilantro and dill, which do not like to be disturbed).
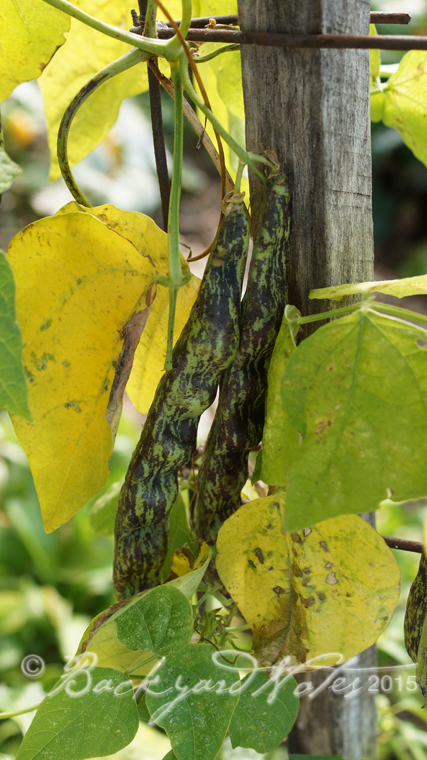
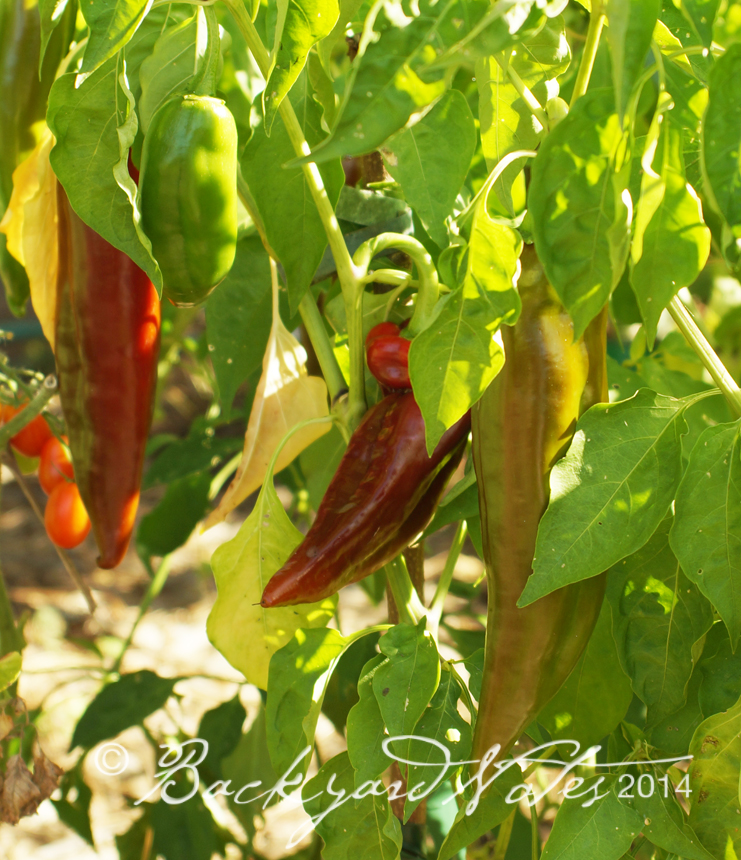
Rattlesnake pole bean, green stage
I have been saving some bean seed the last few years, mostly pole beans. I really like Lazy Housewife, a great pole bean that was from Seed Savers (found at flower and garden show several years back). I also have become fond of Rattlesnake, a good green snap bean and shell-bean. This year I let a lot of beans go to dry seed stage rather than pull them out when the vines started to die back.
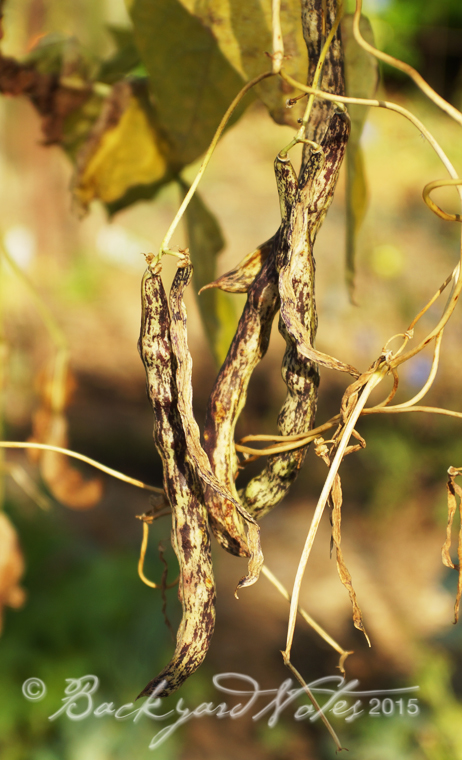
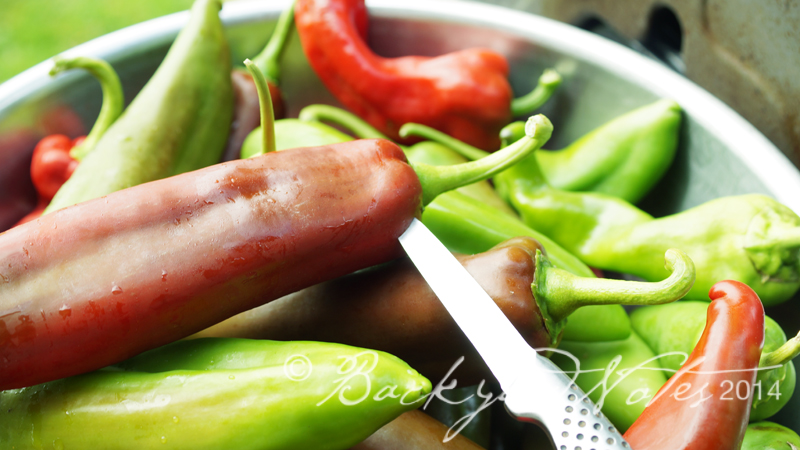
Rattlesnake beans drying on the vine
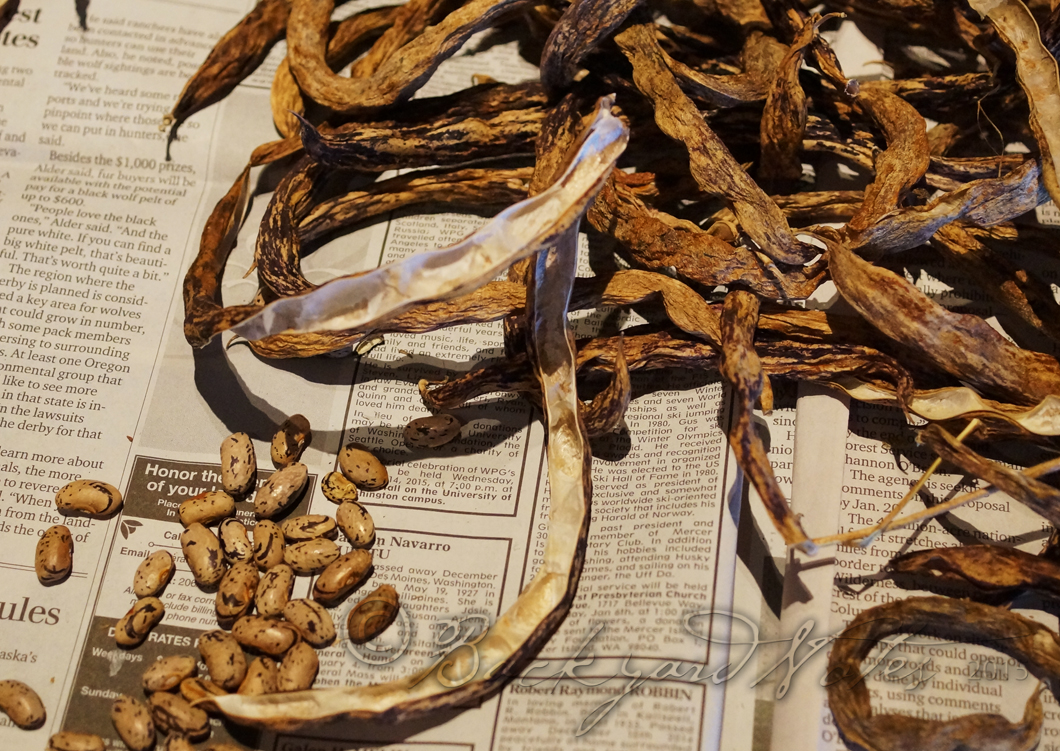
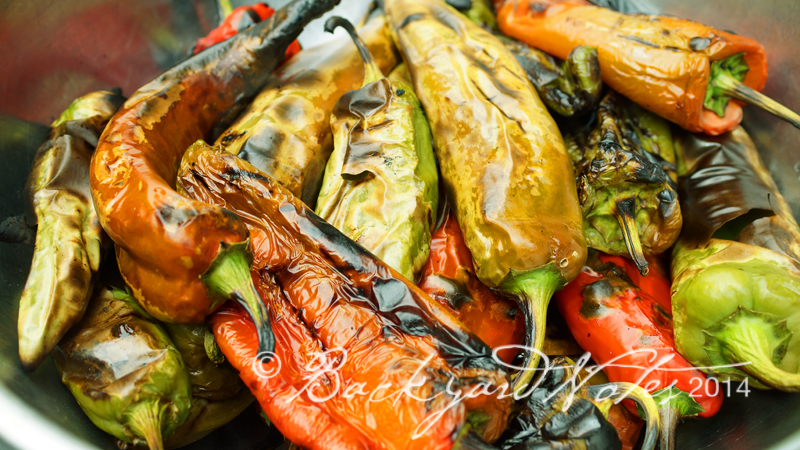
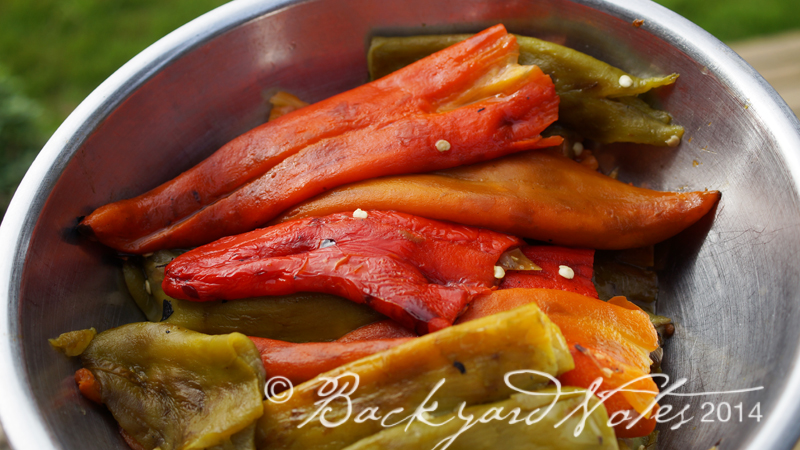
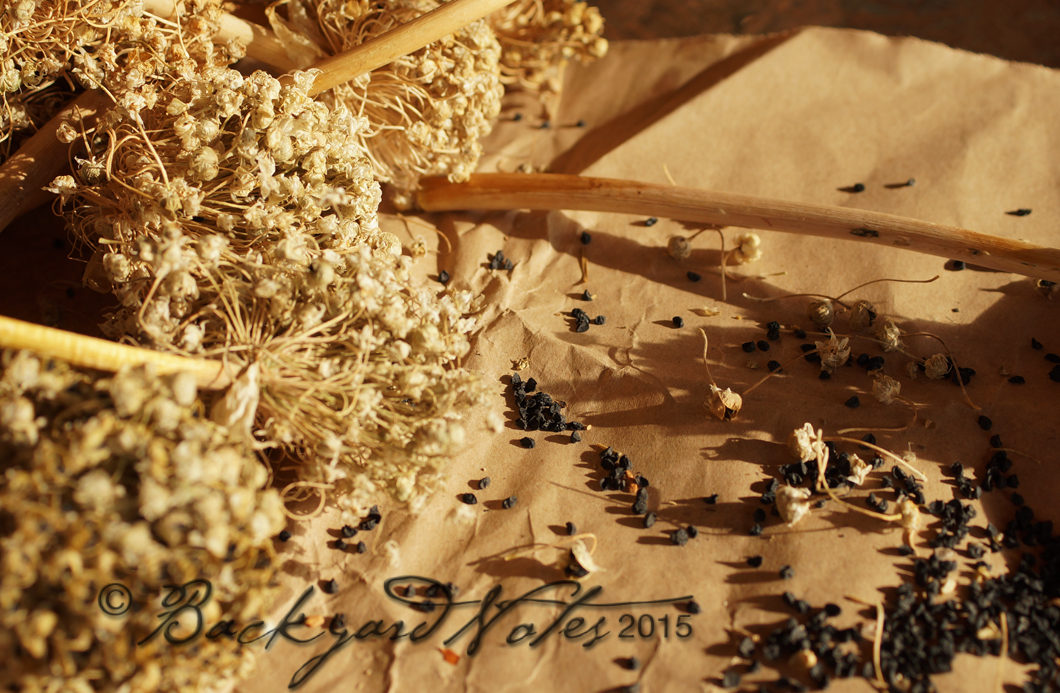
The last stage of harvesting
Leek seedhead
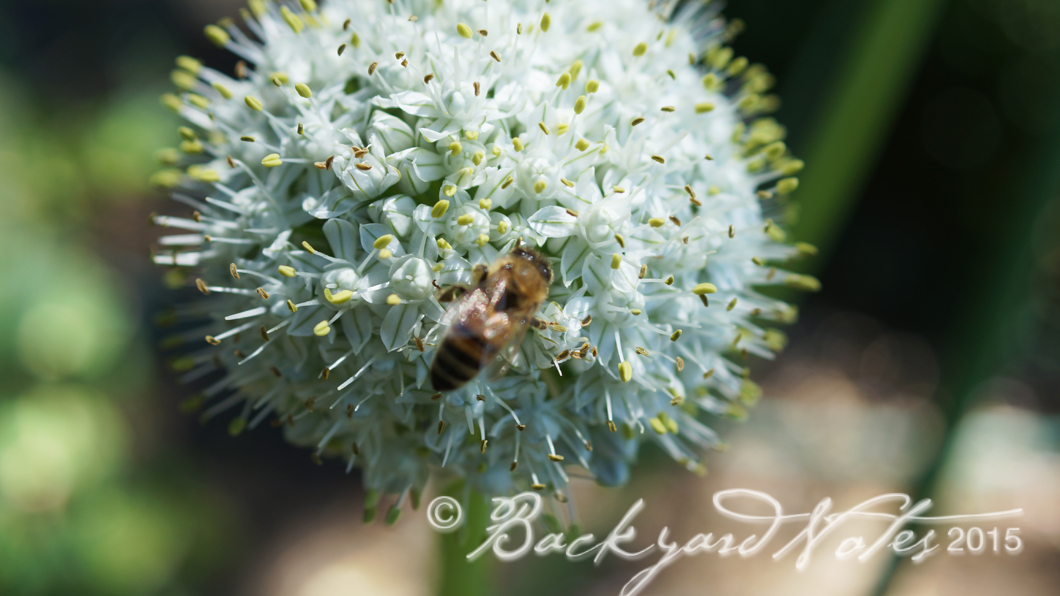
Pollination in action! Walla Walla onion seed to follow!
I have always let some leeks go to seed as the seed stalks are tall and the seed heads large and showy, an easy ornamental as well as a tasty vegetable! I also like growing my own Walla Walla sweet onions, but had never saved the seed. In the fall of 2013 I reset some small, unharvested onions so they would set seed the following summer.
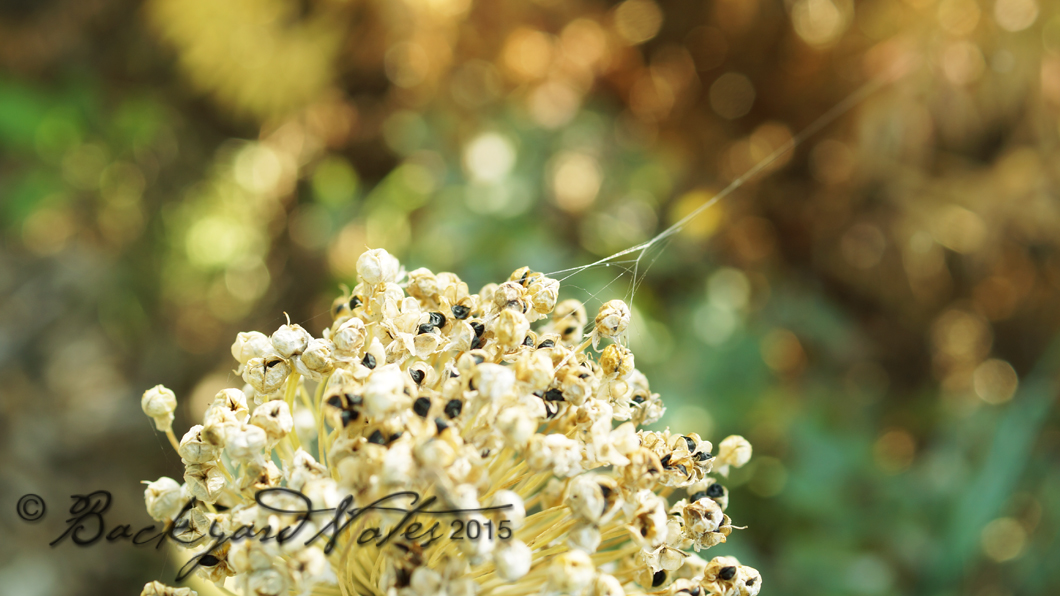
Dried seedheads
When the onions had ‘bloomed’ and set seed I left the seed heads to mature then cut the tops and set them in a cool, dry and shady spot until the seeds separated easily from their husks. Not very scientific but it worked just fine.
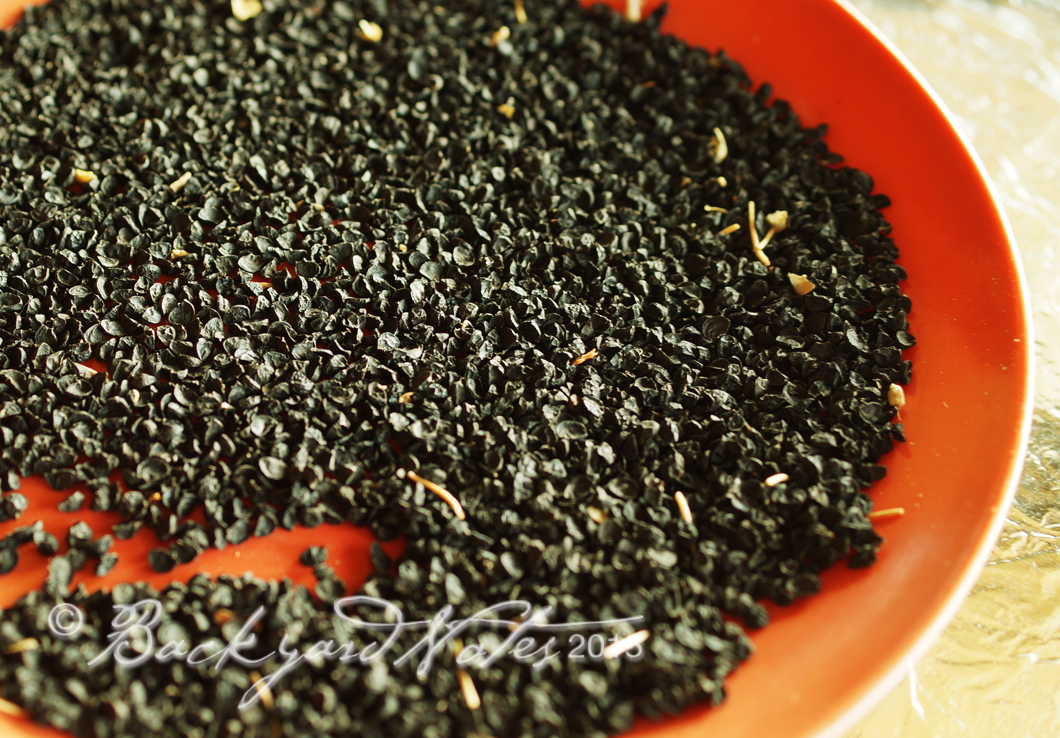
Walla Walla onion seed
I was rewarded with more seed than I could possibly plant in my small, limited space garden and I shared some seed with my neighbors. Walla Walla’s are long-day onions, perfectly suited to our long, Northwest summer days and suggested planting is late August. The seedlings were up within two weeks of sowing and are perfectly hardy through our normally temperate weather and sporadic freezing we often have around here; I usually transplant the seedlings in mid-to late February and harvest onions in June and July.
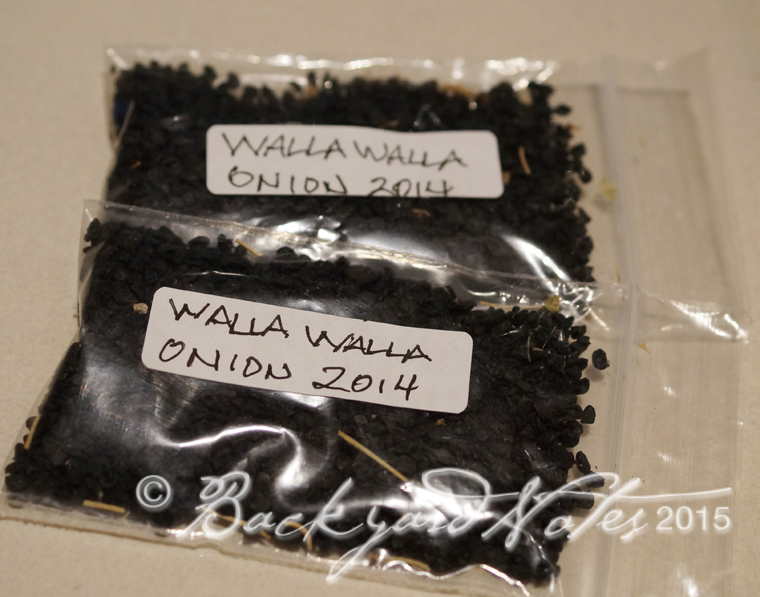
Lots of onion seed and plenty to share!
BACK TO THE TOMATO SEEDS. In the 1990’s Taunton Press published Kitchen Garden magazine, to which I subscribed until they unfortunately ceased publication. However, in one issue there was an article about saving tomato seed and I have followed the procedure ever since and with good success; the method goes like this:
Remove the seeds from the ‘jelly’ that holds them in place. Place in a shallow container and cover with water. Let the seeds stand until they start to ferment and the water acquires a moldy top layer.
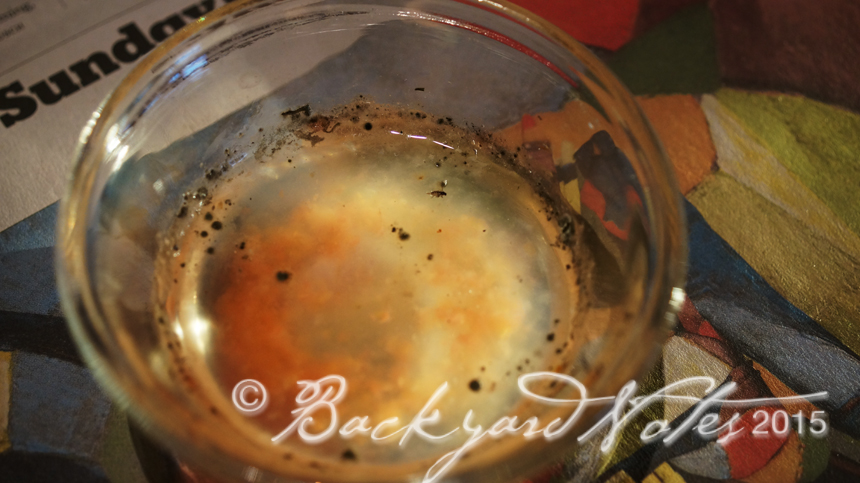
The fermenting, moldy seed
At that point, gently pour off the water and layer of mold; most of the ‘jelly’ has now loosened and separated from the seed; all of the good seeds will stay at the bottom of the container and everything else slips out. Add clean water, gently drain once more and add more water to cover the seed; let stand another day or two then rinse and drain off the water leaving the seeds to dry in the container.
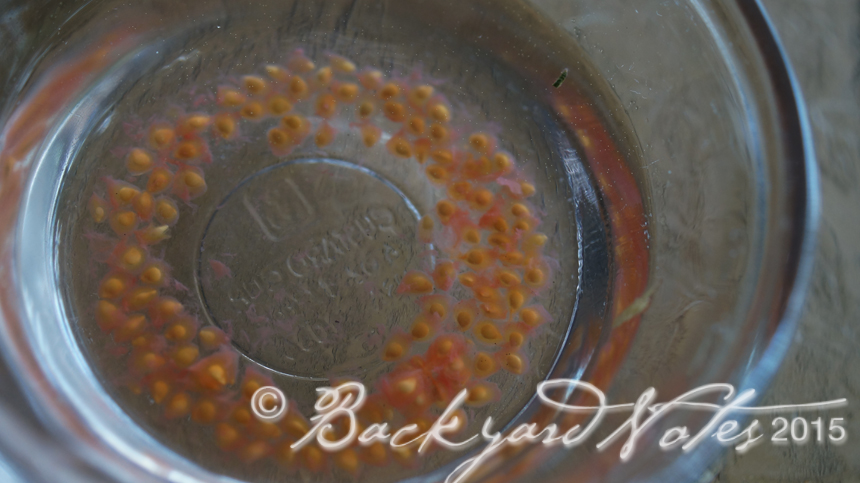
After fermentation
The fermented and dried tomato seeds
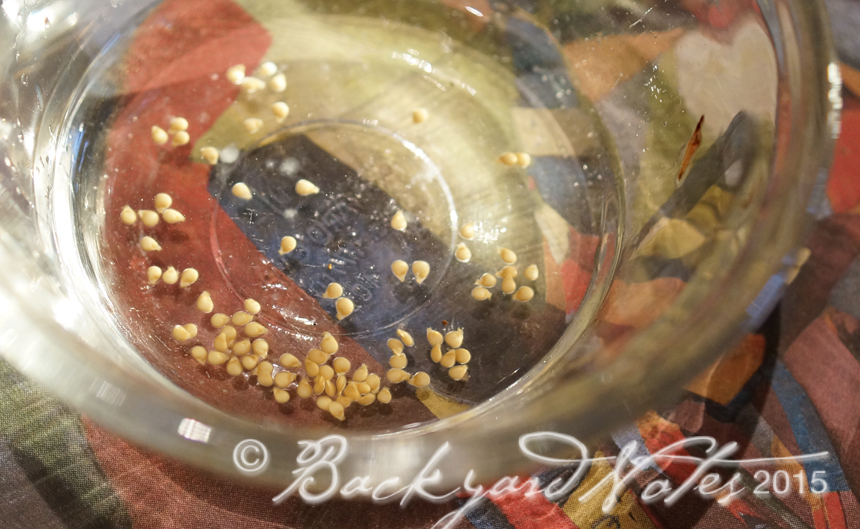
I may be leaving out something here, and I don’t recall the reason for the fermentation or know the science behind it, but I do know that I have successfully saved tomato seed this way for a very long time. I wish I had saved the article; it is one of the few things not to be found in the vast depths of the internet. But I have thought that tomato seeds that end up in the compost heap go through a similar kind of fermentation and there is never a lack of volunteer tomatoes in my garden beds.
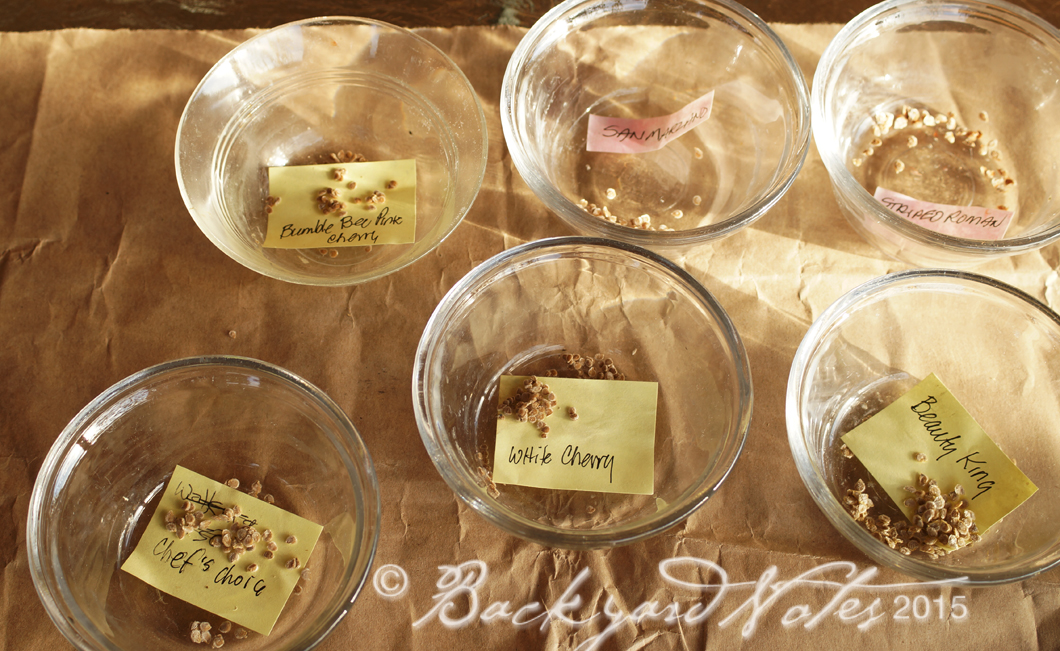
Finished seed for next year
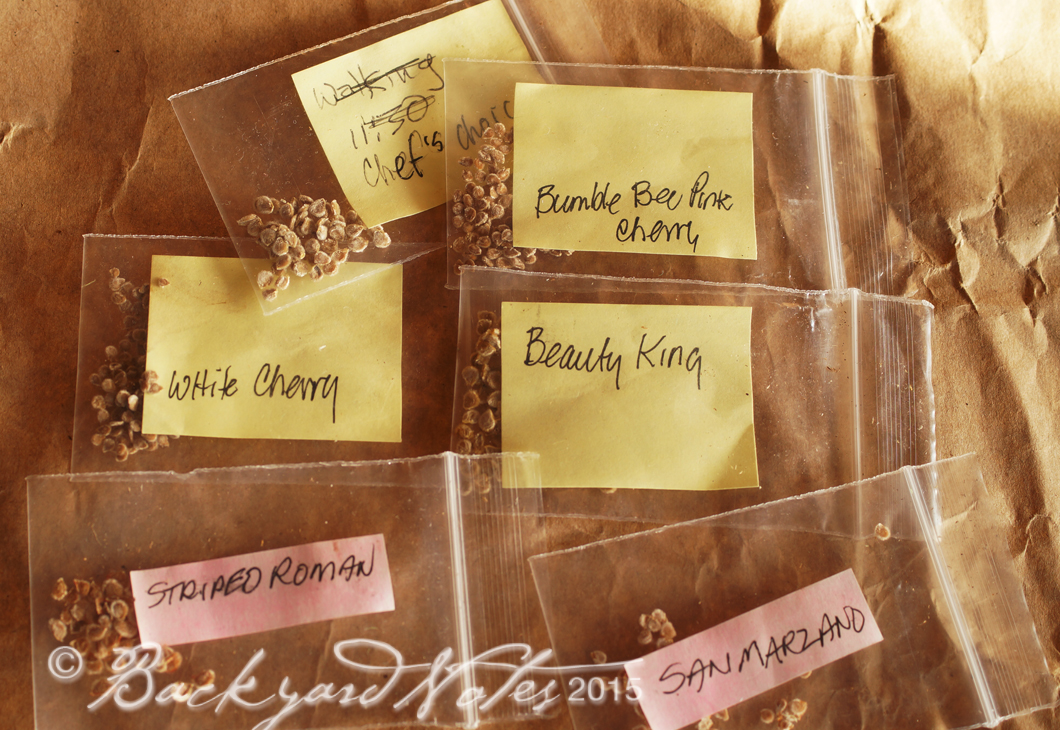
At least a few new varieties to save every year
As the seed catalogs begin to arrive, my thoughts are turning to spring planting and the promise of juicy tomatoes, sweet onions and the first pickings of snap beans.